Data-flo tutorial

Published

July 10, 2023

A short introduction

Data-flo (https://data-flo.io/) is a system for customised integration and manipulation of diverse data via a simple drag and drop interface.

For Data-flo documentation, go to https://docs.data-flo.io/introduction/readme

Data-flo can easily combine epidemiological data, genomic data, laboratory data, and various metadata from disparate sources (i.e., different data systems) and formats.

Data-flo provides a visual method to design a reusable pipeline to integrate, clean, and manipulate data in a multitude of ways, eliminating the need for continuous manual intervention (e.g., coding, formatting, spreadsheet formulas, manual copy-pasting).

Data-flo pipelines are combinations of ready-to-use data adaptors that can be tailored, modularised and shared for reuse and reproducibility. Once a Data-flo pipeline has been created, it can be run anytime, by anyone with access, to enable push-button data extraction and transformation. This saves significant time by removing the bulk of the manual repetitive workflows that require multiple sequential or tedious steps, enabling practitioners to focus on analysis and interpretation.

Required internet browsers: Google Chrome or Mozilla Firefox

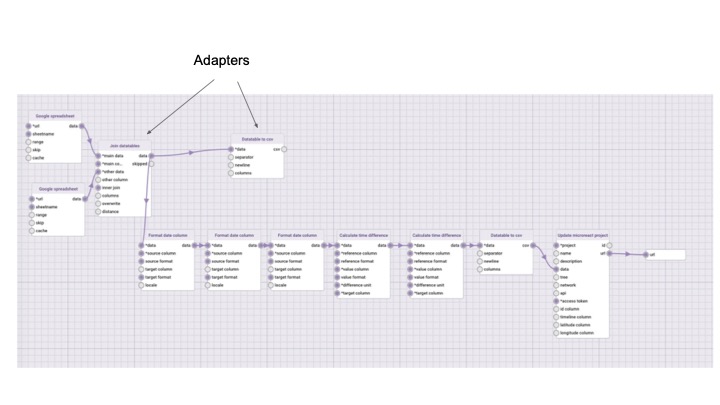
“Steps” in Data-flo are called ADAPTORS. There are three main types of adaptors, which serve different functions.

  • Importing data

  • Manipulating & transforming data

  • Exporting data

Data-flo editing view. Examples of Data-flo adaptors.

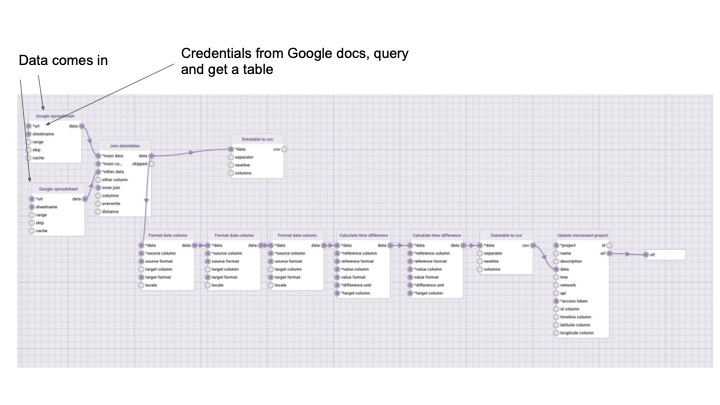
Data-flo editing view. This is an example of a Data-flo that imports data from Google spreadsheets, through “Google spreadsheet” adaptors.

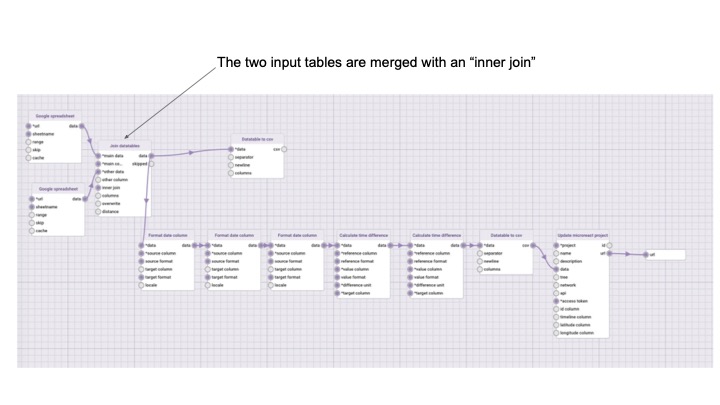
Data-flo editing view. This is an example of a Data-flo where two datatables are merged using a “Join datatables” adaptor.

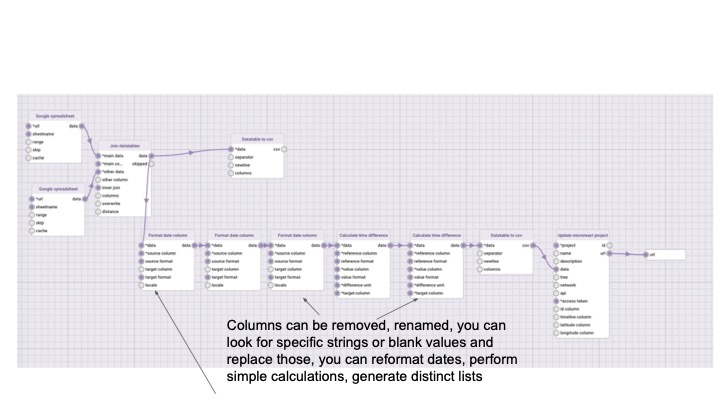
Data-flo editing view. Using various adaptors, columns in a datatable can be removed or renamed, specific strings or blank values can be replaced, dates can be reformatted, distinct lists can be generated.

Data-flo editing view. In this example, a Data-flo pushes updated data to a Microreact project and supplies the URL for that project using the “Update Microreact project” adaptor.

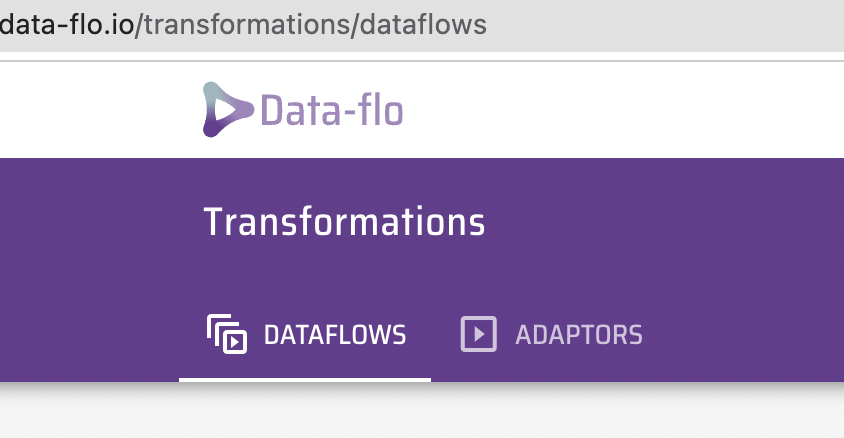
How to run a Data-flo, Step 1: Go to Data-flo transformations: data-flo.io/transformations/dataflows

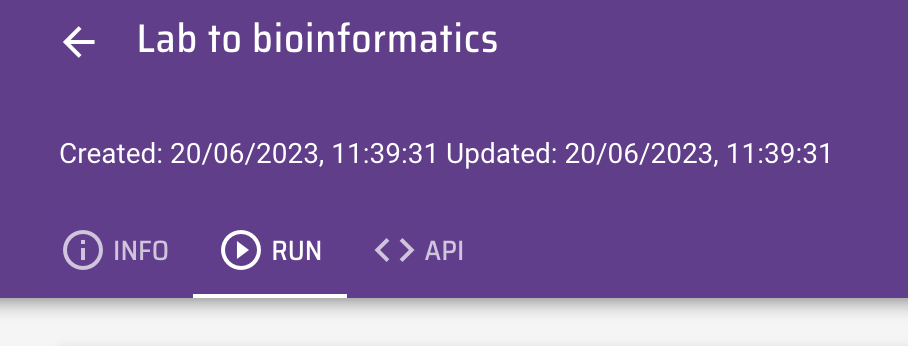
How to run a Data-flo, Step 2: Select your favourite Data-flo. The Data-flo shown in this example is “Lab to bioinformatics”

How to run a Data-flo, Step 3: Click on the RUN tab to get to the RUN page.

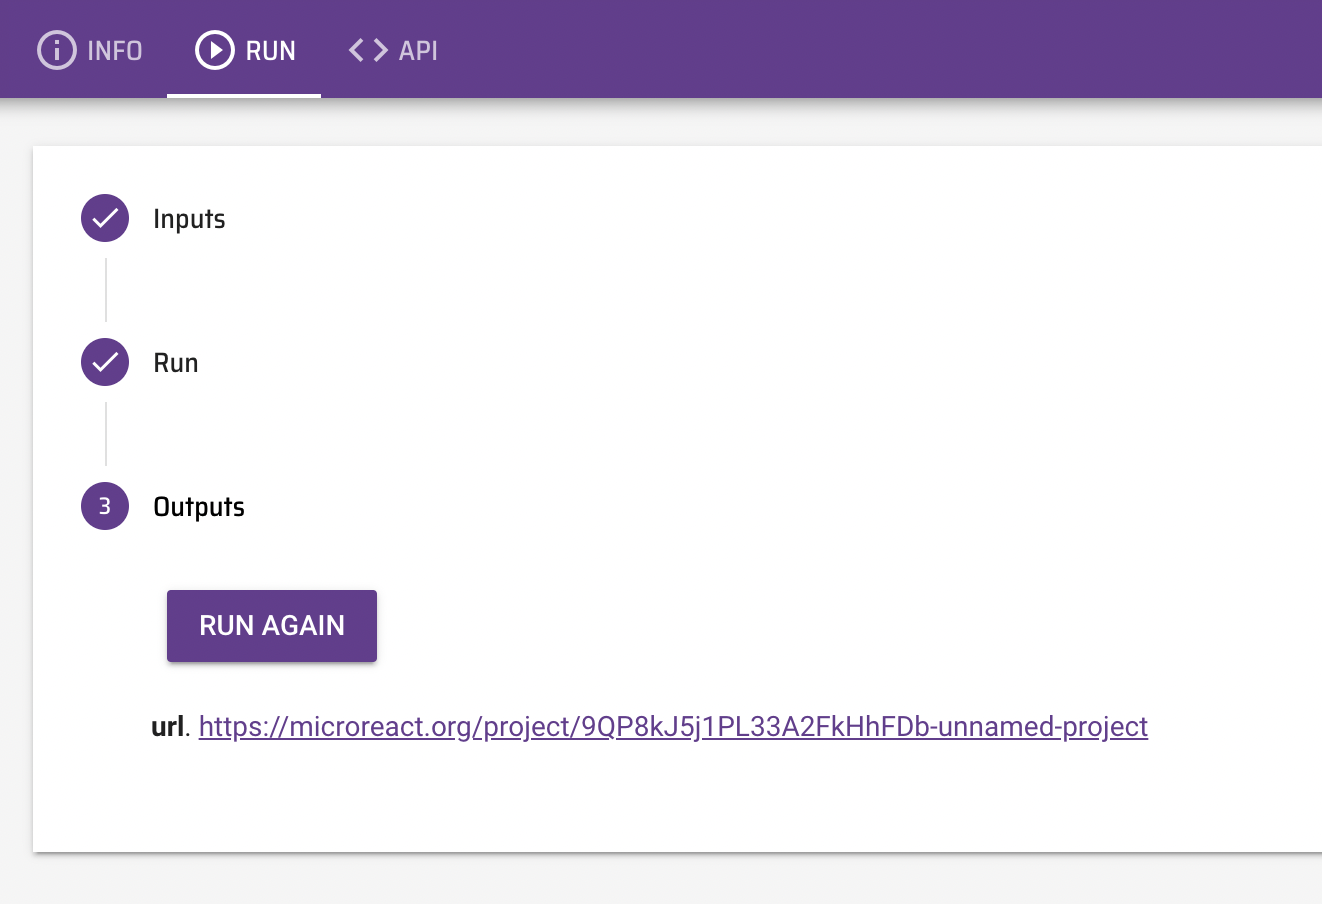
How to run a Data-flo, Step 4: Hit the RUN button.

How to run a Data-flo, Step 5: Check out the output. In this example, the output is a Microreact link. You can choose to RUN AGAIN the Data-flo, and this will update your results (in case the input had been changed, of course).

Create a Data-flo from scratch, Step 1: Go to the + sign on the bottom right of your screen.

Create a Data-flo from scratch, Step 2: Select “NEW DATAFLOW”.

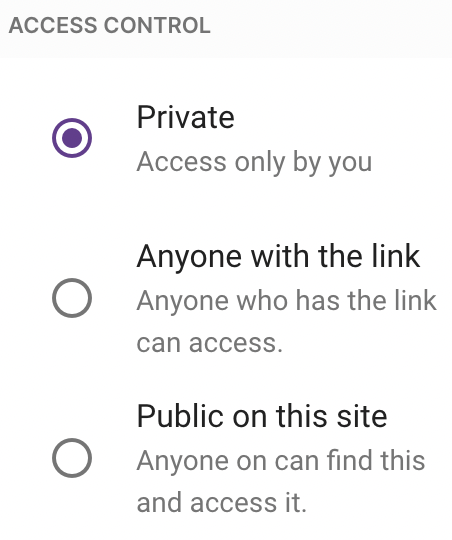
Create a Data-flo from scratch, Step 3: Select your preferred ACCESS CONTROL.

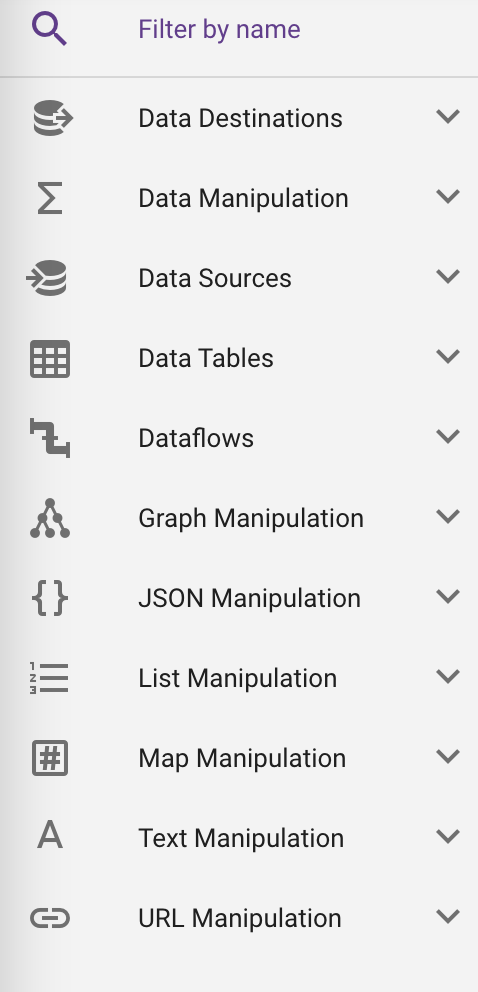
Create a Data-flo from scratch, Step 4: Add adaptors to your Data-flo. On the left-hand side of Data-flo, you can find the list of available adaptors.

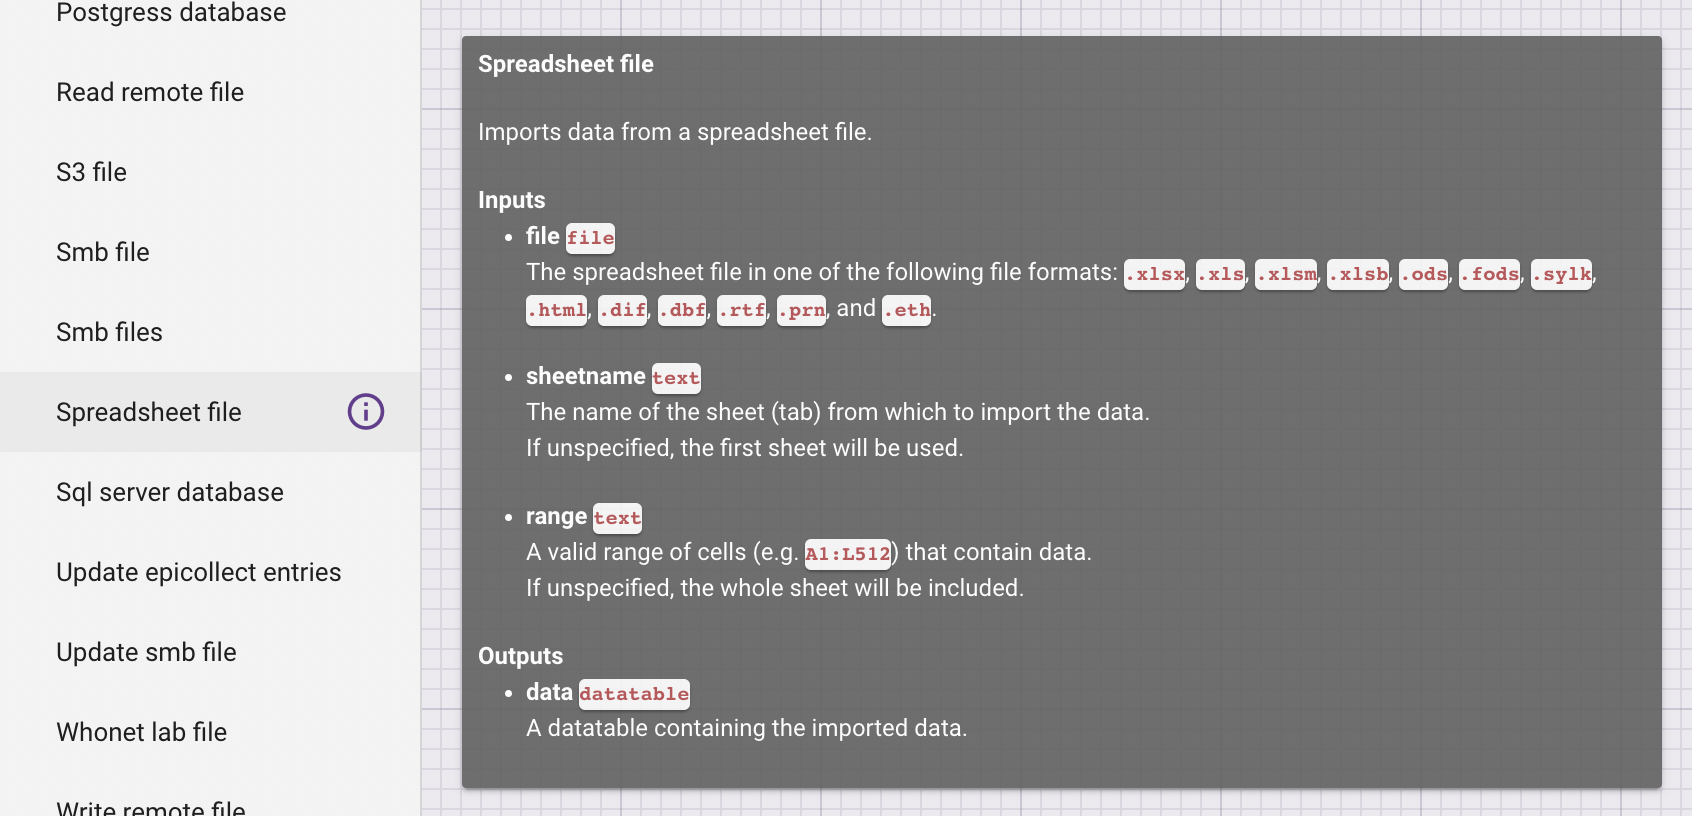
Create a Data-flo from scratch, Step 5: Try to retrieve data from a spreadsheet. Click on “Spreadsheet file” on the list of adaptors. Hover over the “i” button next to “Spreadsheet file” to see basic information about this adaptor.

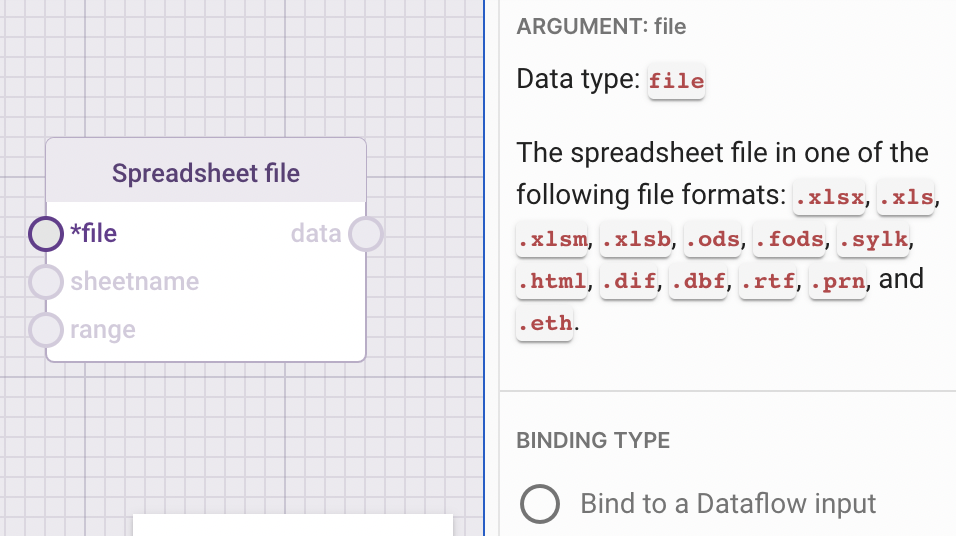
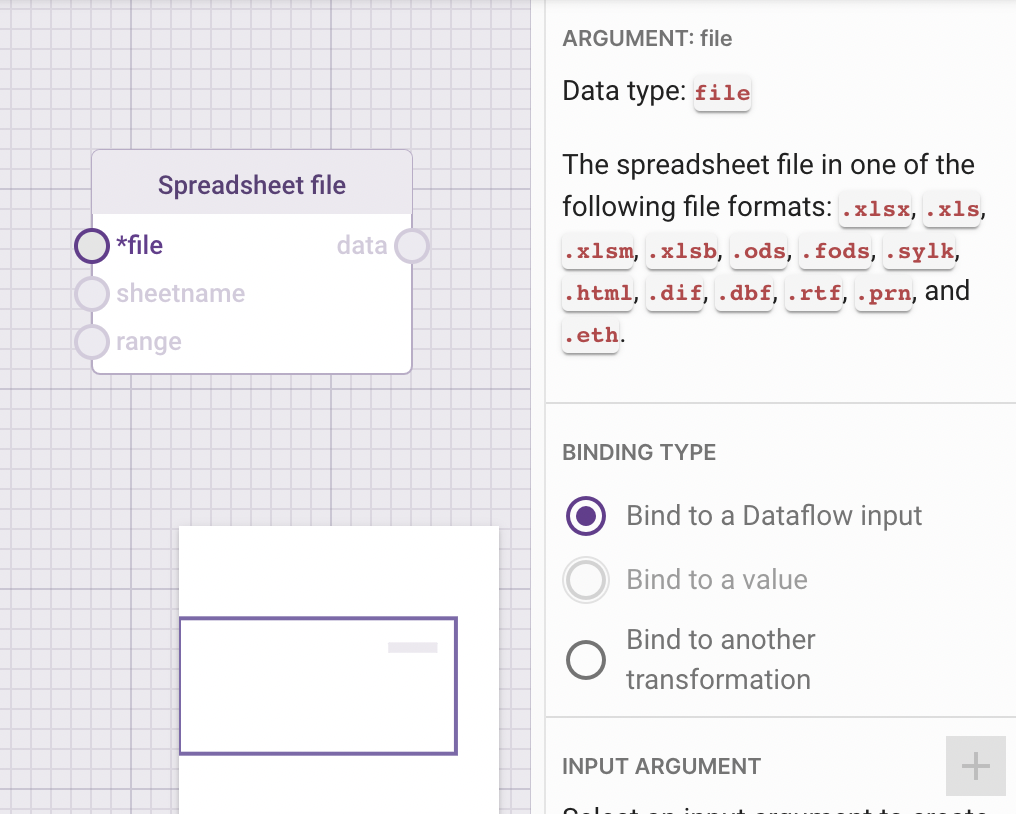
Create a Data-flo from scratch, Step 6: Clicking on “Spreadsheet file” on the list of adaptors, will add an adaptor (which looks like a box), with the title “Spreadsheet file” on your canvas. When you click on *file on the left side of the adaptor, the view on the right hand side of your screen will change, and you will be able to see a list of options under “BINDING TYPE”, such as “Bind to a Dataflow input” and “Bind to another transformation”.

Create a Data-flo from scratch, Step 7: From the list of “BINDING TYPEs”, Select “Bind to a Dataflow input” and press the “+” next to INPUT ARGUMENT.

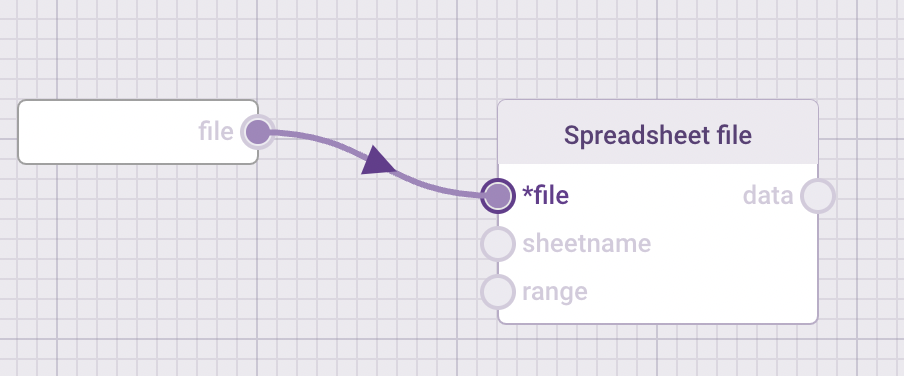
Create a Data-flo from scratch, Step 8: A box with “file” will appear on the canvas, linked to the “Spreadsheet file” adaptor.

Create a Data-flo from scratch, Step 9: To run a Data-flo, press the little “bug icon” on top, on the right hand side of the Save button.

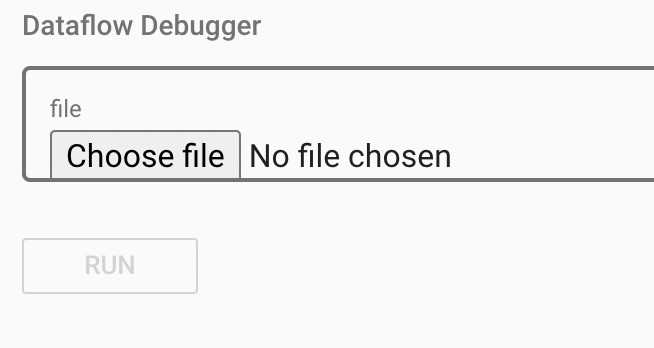
Create a Data-flo from scratch, Step 10: Pressing the “bug icon” will trigger the Dataflow Debugger and you will be shown a “Choose file” button.

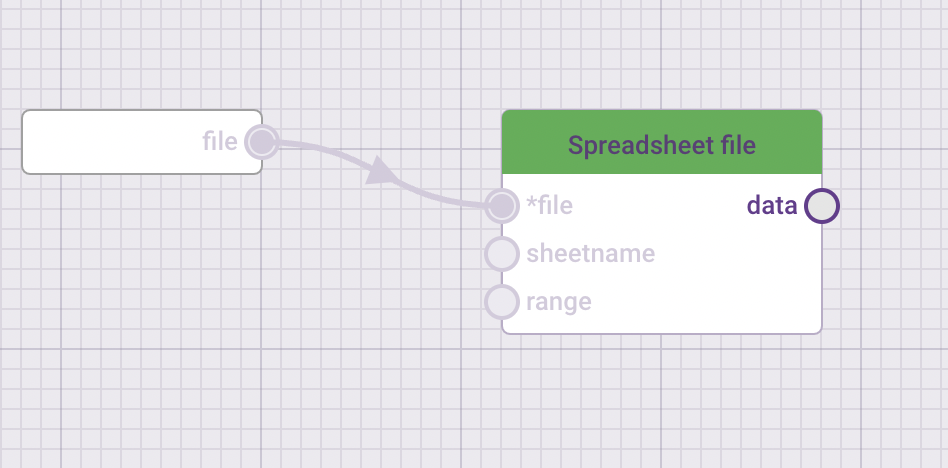
Create a Data-flo from scratch, Step 11: Press the “Choose file” button and select a spreadsheet from your local computer. Click the “data” on the right hand side of the adaptor.

spreadsheet data

Create a Data-flo from scratch, Step 12: Clicking on the “data” on the right hand side of the adaptor, will retrieve a view of the file selected. In this case, the Dataflow Debugger is showing the first 3 rows of a file containing epidemiological data.

How to share your Data-flo, Step 1: Press the downward facing arrow shown here on the top right corner. This will trigger the export of a .json file, which can be sent and shared.

How to share your Data-flo, Step 2: If you have received a .json Data-flo file, press the + sign at the bottom right of your screen

How to share your Data-flo, Step 3: Press the IMPORT button and then select your .json file containing the Data-flo.